

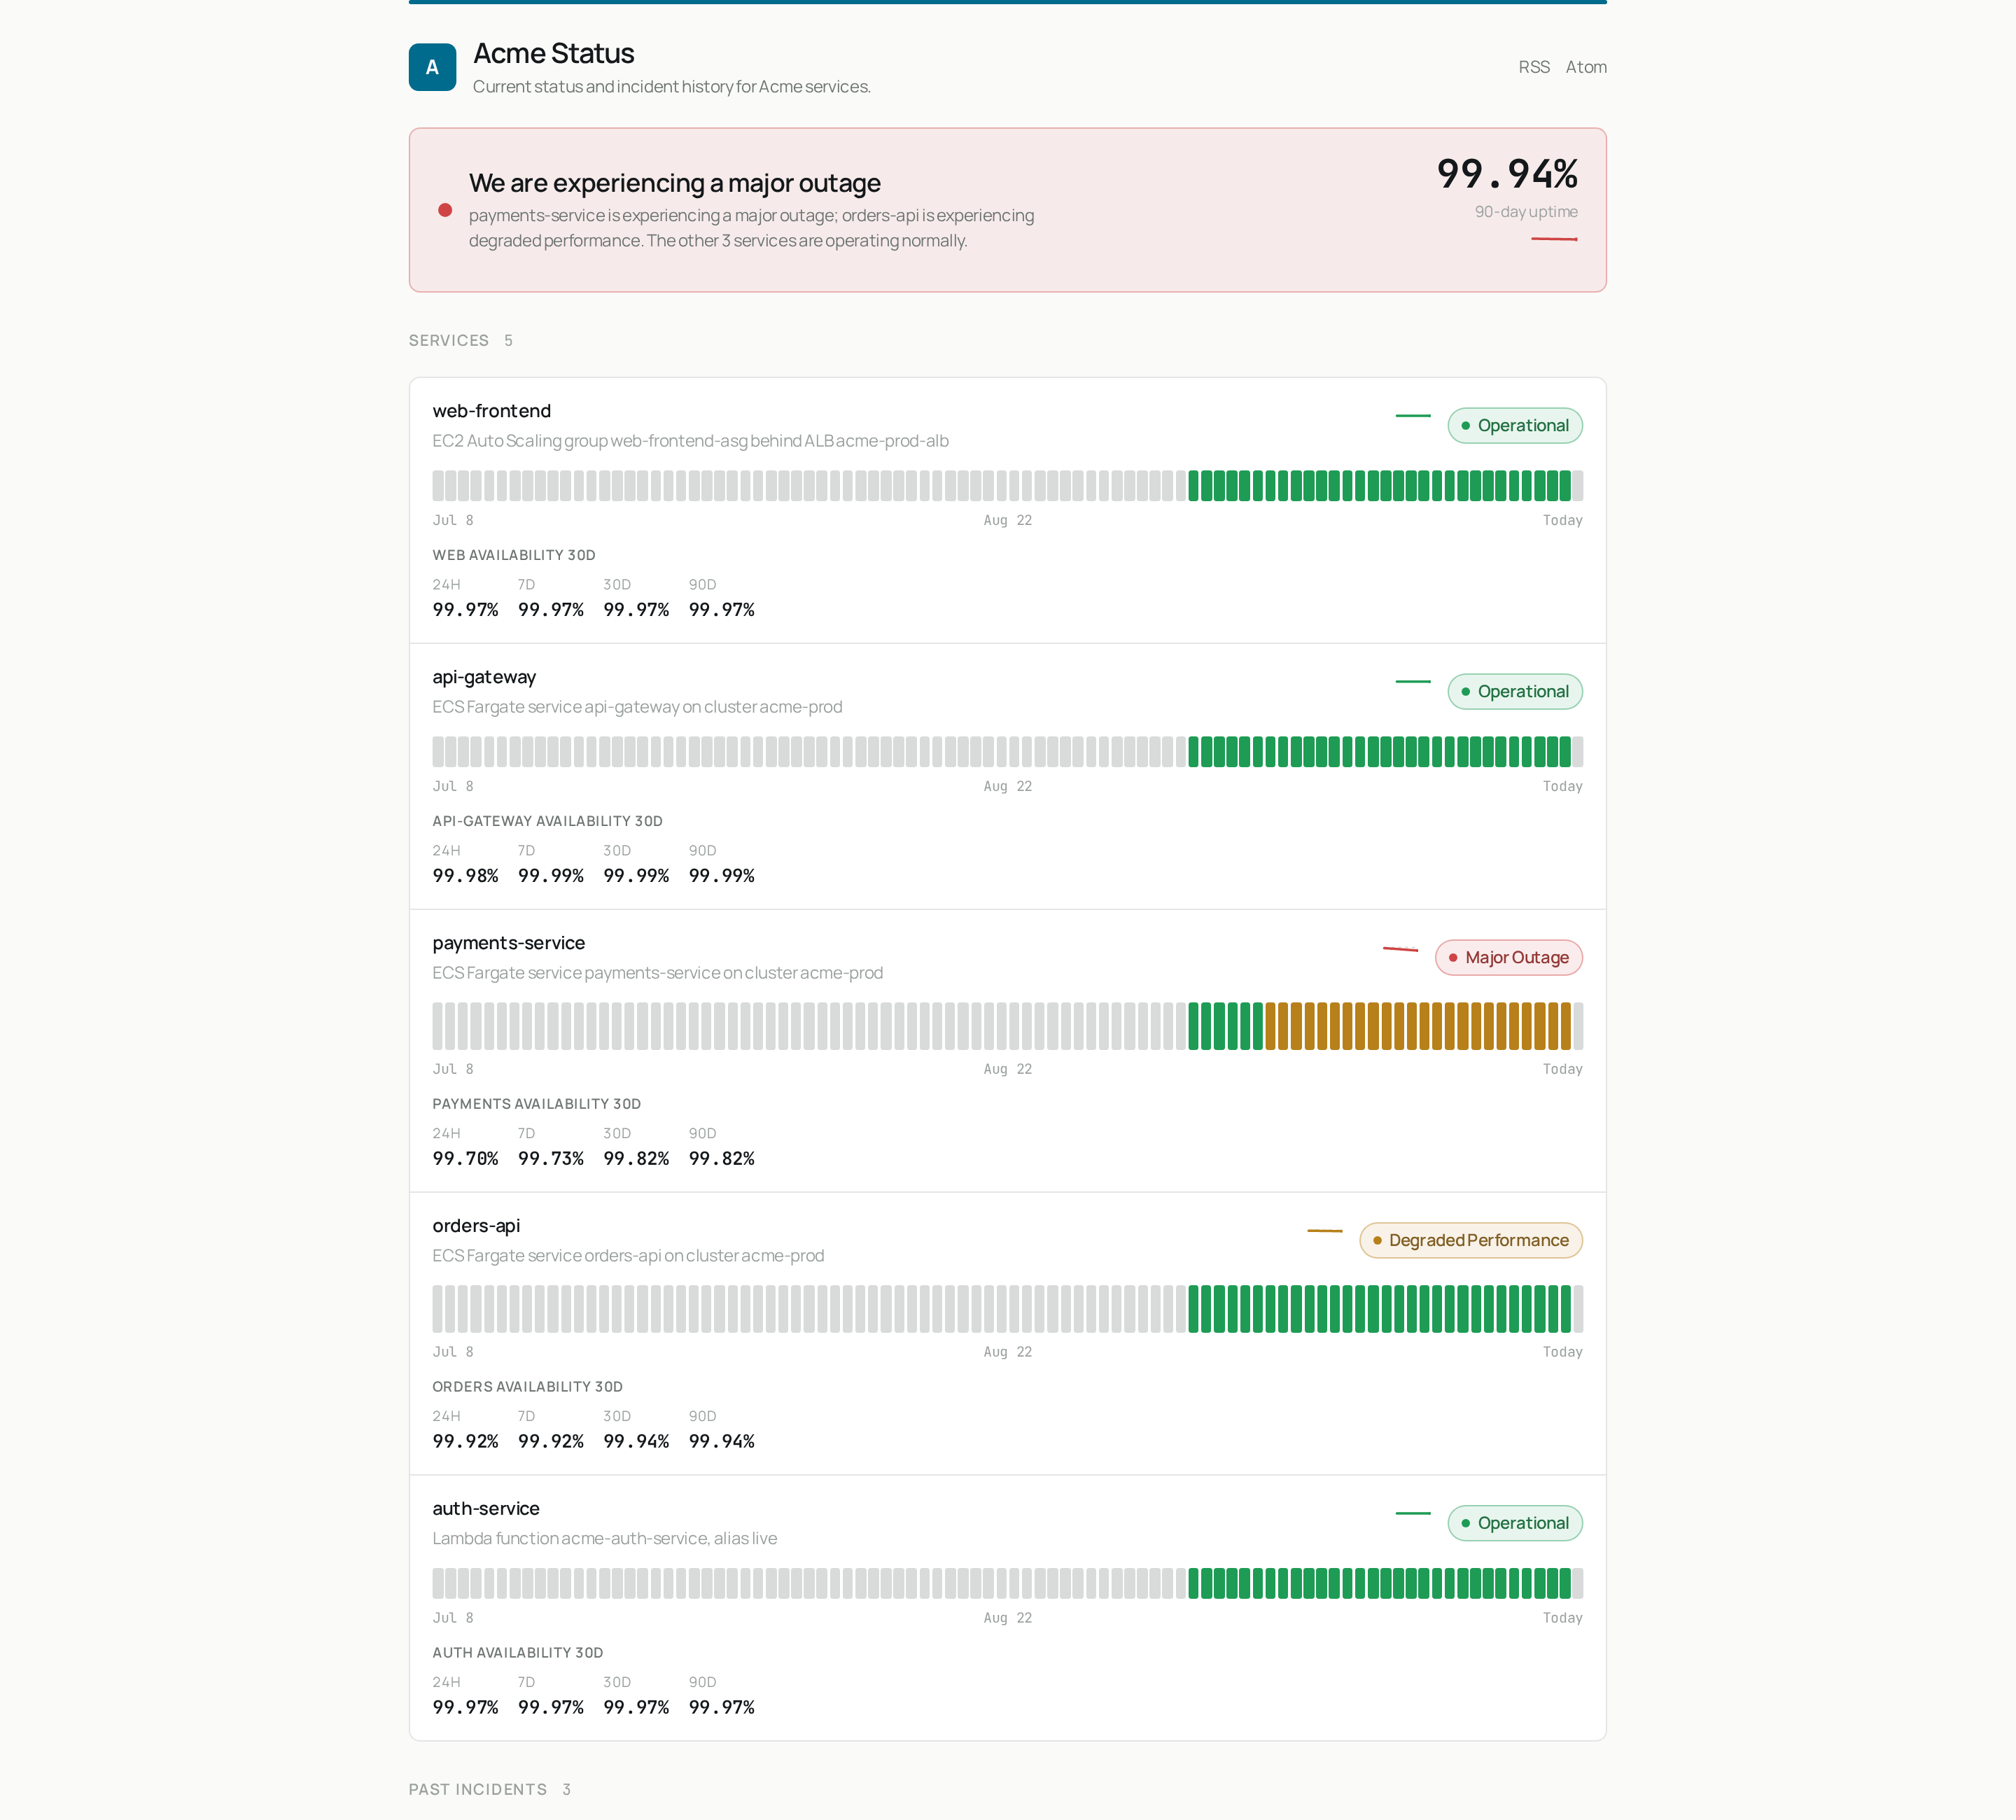
A public status page with overall status, uptime, and a status and availability history for each of five services.
https://sreagent.app/status/<your-org>, where <your-org> is your organization slug. Organization admins and the support role manage it.
Set up the page
1
Open the status page settings
Click Status page in the sidebar. The tabs are Settings, Components and
Incidents.
2
Add components
On Components, enter a Display name (for example
API) and an optional Description.
Under Linked SLOs, pick every SLO that decides this component’s health, then click Add
component. A component with no linked SLOs always reads Operational.3
Brand and configure the page
On Settings, fill in the page Title and Page description. Under Display, choose
a Time zone, History days (7 to 90) and whether to Show overall uptime summary.
Under Visitor actions, add a Support URL and decide whether to Show feed links (RSS
and Atom). Click Save.
4
Preview, then publish
Click Preview draft to see the page before anyone else can. When it looks right, click
Publish. Unpublish takes the page offline again, and visitors get a 404 until you
republish.
A component needs at least one active SLO before you can add it. If you have none, the
Components tab links you to the SLO wizard and to synthetic checks, which build an
availability SLO from a probe in one click. See Set up SLOs and Synthetic
checks.
Custom branding
Logo URL (served over https) and Primary color need the Business plan. On Pro, the rest of the page is fully editable and the branding fields show an upgrade prompt.How component status is decided
A component shows the worst status among its linked SLOs, so one burning objective is enough to mark it Degraded. Open incidents add to this: an incident linked to a component changes the status shown next to it, based on the incident’s impact. An incident linked to no component posts, but changes no component status, and the incident card warns you about that.Open an incident
1
Start an incident
On the Incidents tab, find Open a new incident. From an alert, click Publish to status
page in the alert’s Status page section instead. The title and impact are filled in for
you, and the alert’s internal description and labels are deliberately not copied.
2
Set title, status and impact
Enter a customer-safe Title, choose the Initial status (Investigating, Identified or
Monitoring) and the Impact (Minor, Major, Critical, Maintenance or None).
3
Write the first update
Click Suggest draft next to First update (customer-facing) to have the AI draft it, then
edit the text. You can also click Cite context to attach the alerts, investigations or
deploys the update is based on.
4
Pick affected components
Under Affected components, choose the components this incident touches. This drives the
status shown beside each one.
5
Open the incident
Click Open incident. It appears under Active incidents and on your public page.
Post updates and resolve
Each active incident has a status dropdown and an update box. Choose the new phase (Investigating, Identified, Monitoring or Resolved), write what changed, and click Post update. Leave the phase as it is to post a note without changing it. The Suggest update for next phase buttons draft an update for the phase you choose. An incident with no update for a while shows a No update for … badge, because customers read a silent incident as abandoned. Post an update or resolve it. Resolved incidents move to History. Archive hides one from the public page while keeping it for audit, and Restore brings it back.Share the page
Visitors follow the page in a feed reader. There is no email list, so the page never collects visitor addresses.
Related
- Run and read an investigation: publish an incident from an investigation.
- Triage alerts: publish an incident from an alert.
- Plan matrix: which plans include custom branding.